1 在自己的虚拟环境中安装ipykernel
1、激活自己的虚拟环境。
activate [Your enviroment name]例如:
activate mindspore2、在当前环境中安装ipykernel。
conda install ipykernel3、添加环境到jupyter notebook。
python -m ipykernel install --user --name [Your enviroment name] --display-name "[Name you want to show in jupyter]"例如:
python -m ipykernel install --user --name mindspore --display-name "mindspore(Python3.9)"4、重启jupyter notebook。
5、在jupyter notebook界面中kernel菜单下面可以切换啦。
2 问题解决
2.1 在切换kernel时,出现ImportError: DLL load failed while importing _device: 找不到指定的模块
原因:pyzmq的版本不匹配。
解决办法:在刚才的虚拟环境下,安装以下版本的pyzmp:
pip install pyzmq==23.0.0重新运行,即可解决。
2.2 在切换kernel时,出现ImportError: DLL load failed while importing _sqlite3: 找不到指定的模块
解决方法:
进入库下载地址:https://sqlite.org/download.html
下载自己需要的版本,比如:
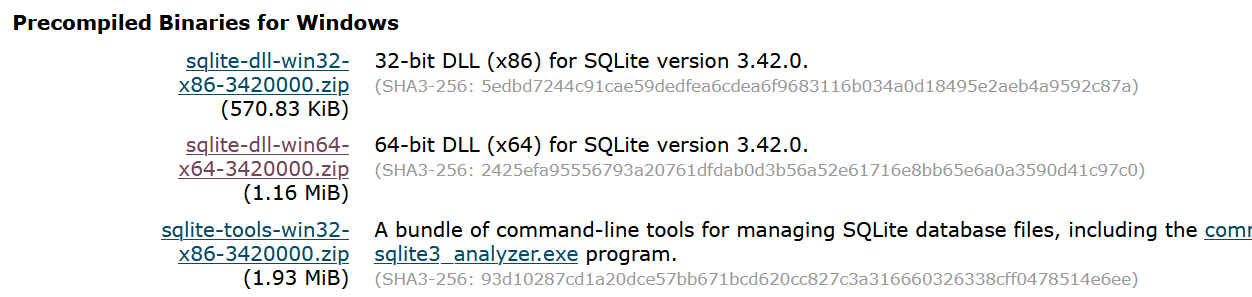
解压后,将这两个文件放置在该虚拟环境的DLLs文件夹下,例如:

问题解决。
3 删除kernel
相关命令:
jupyter kernelspec list
输入jupyter kernelspec remove + kernel名称即可删除。